Showcase Cinema ‘93
This project takes us back to 1993, when I was 8 years old. I loved going to the cinema as a kid and the 90s was just a great decade for movies. Many of them I continue to watch even now and I’ll likely continue into the future. One movie, in particular, is Jurassic Park (the original and best 🦕🦖). I was so excited to see this at the cinema, but with it having a PG-13 rating at the time, I couldn’t go (…come on parents, smuggle me in!).
Anyway, that’s all ancient history now, but it always stuck with me that I missed the opportunity to see what is probably still one of my favourites up there on the big screen. As a result, I thought I’d focus my efforts on recreating the cinema that I used to visit all those years ago…with a screening of Jurassic Park back in 1993, where I open that door and just walk on in. I can’t change history…but I can recreate a slice of it in Blender.
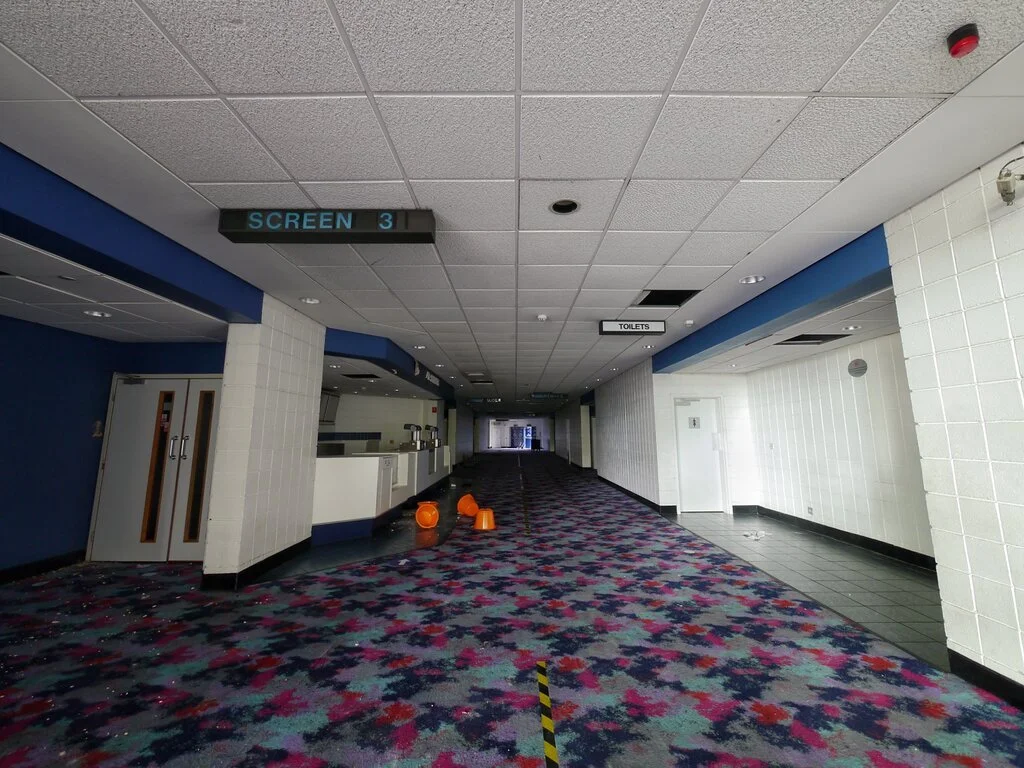
There are two main spaces that I associate with going to the cinema. The first is the corridor that leads to the various screens; I still remember the feeling of excitedly walking down the corridor (not thinking “how did this carpet pattern ever get the green light for production?!”) and opening the door to a dimly lit room filled with anticipation. The second is the movie theatre/screen, where the main event takes place and imaginations are unlocked. These two spaces are what I aimed to recreate.
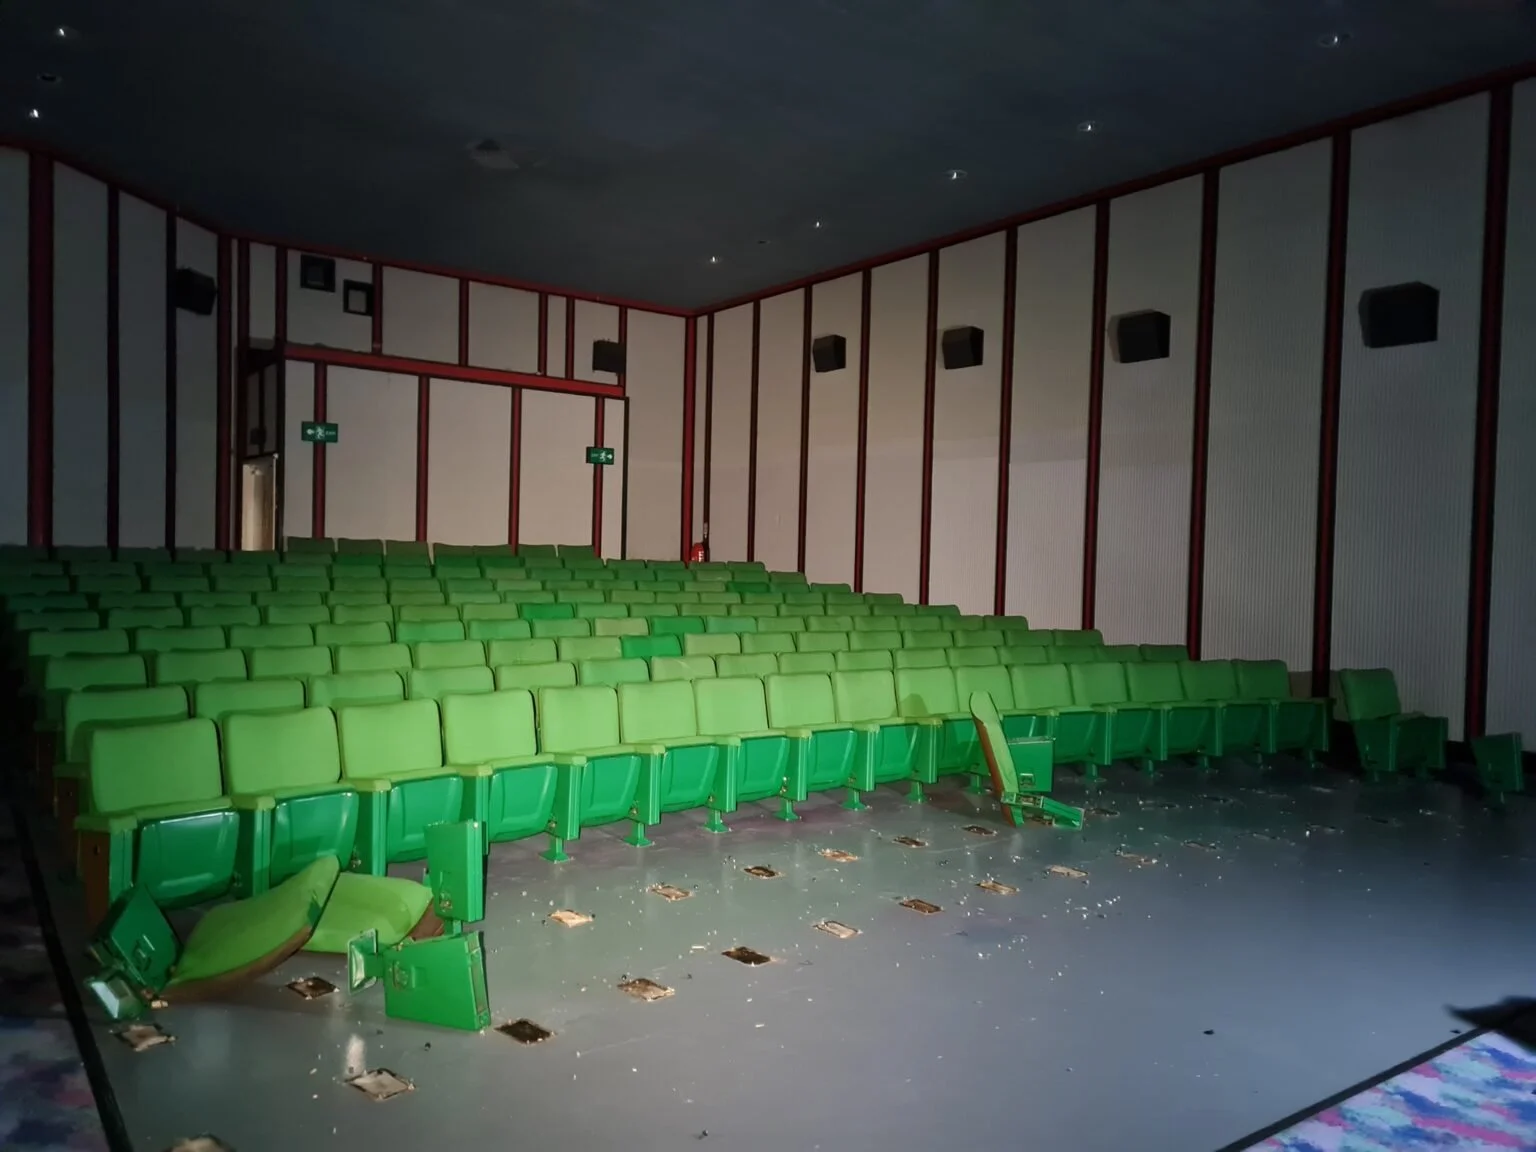
The devil is always in the detail, so where do I start? Fortunately I managed to find some useful reference material of an old Showcase cinema from an urbex video on YouTube. Aside from the damage and decay, it was essentially how I remembered it. My memory could only get me so far, but this was 30 years ago after all. Reference images were a must.
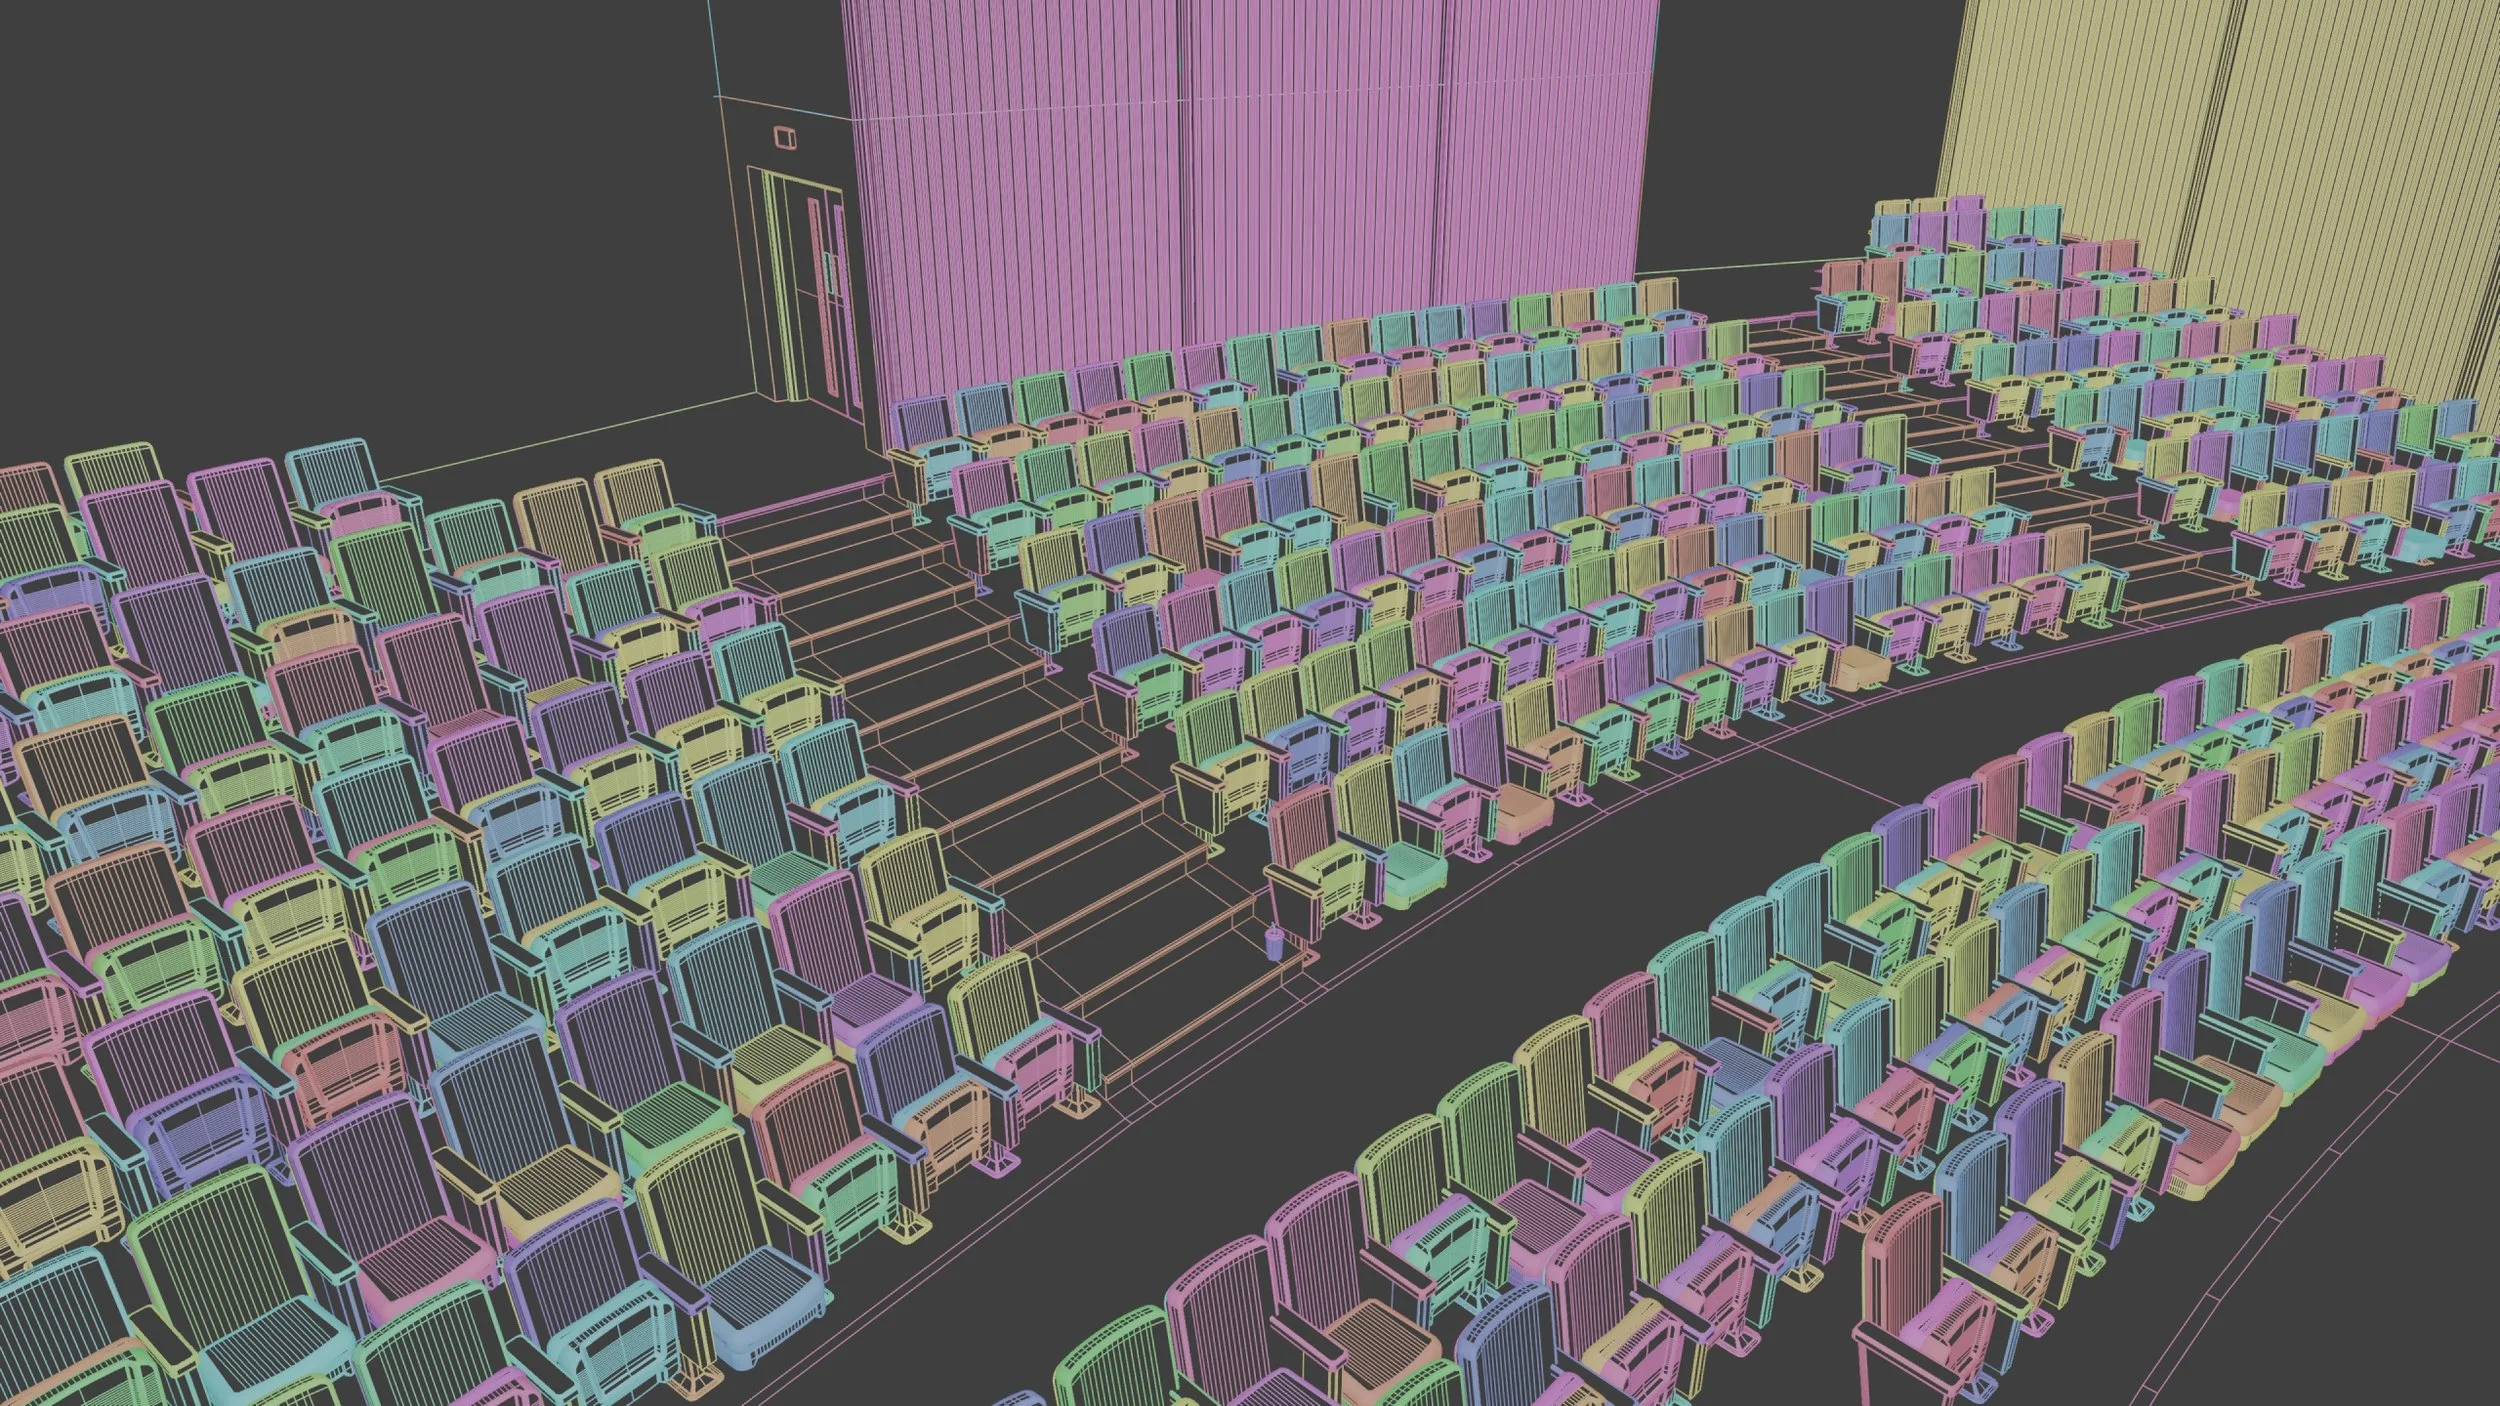
It was a little daunting, but I started small and worked my way up. The seats seemed a logical starting point. I feel like they represent a significant aspect of the cinema experience, and from a practical perspective, their repetition is a handy way to get some headway on the project. Geometry nodes to the rescue once more.
There were a few core components that needed to be considered for modelling the seats and setting up geometry nodes for the scene. These include the arms (between seats and left & right variations for the ends of a row), the states of the seat (up & down) and the rotation of the seats to follow a curve and face the correct direction.
Once I’d completed the seating, I then moved on to blocking out the structure of the room and connecting corridor. The simpler modelling of the walls, floors and ceilings allowed me to spend more time and effort on other parts of the project, such as the projector and more detailed items like the doors and signage.
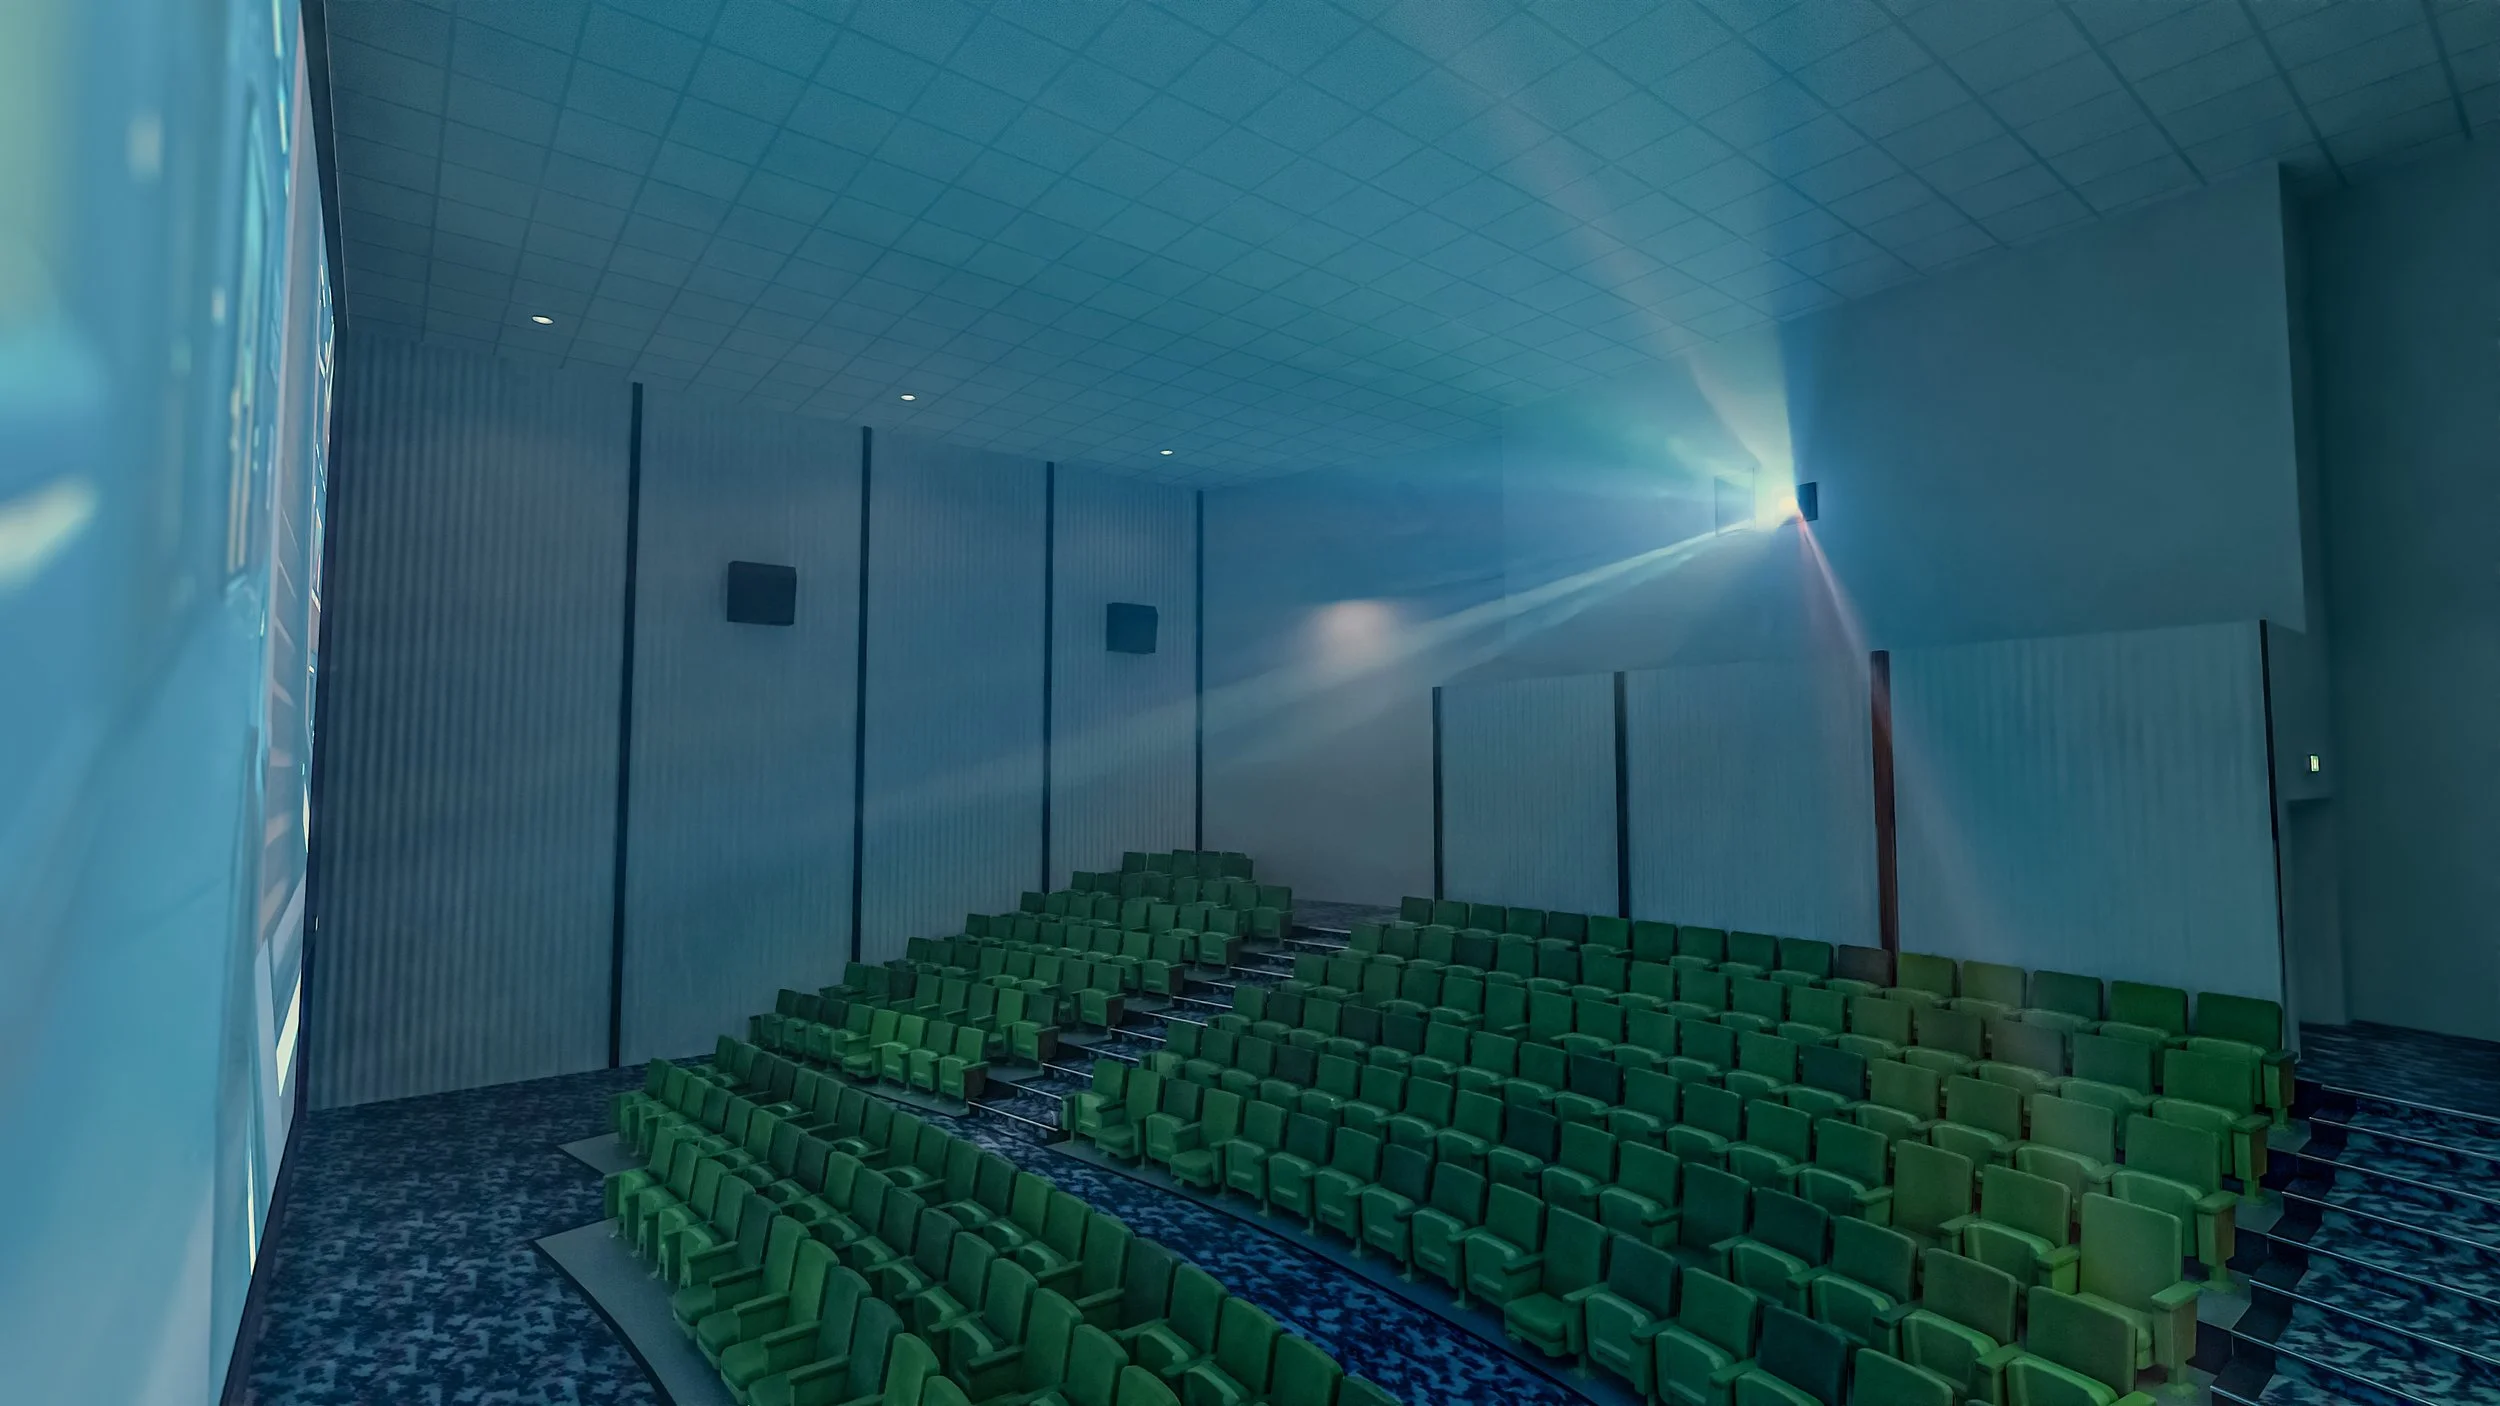
I found an excellent tutorial by CGMatter to help with the projector; applying shader nodes to a spotlight, allowing a movie file to be used as an emissive material. Initially, I had applied an emissive material to a simple plane to act as a screen, but this didn’t have the authenticity of light being projected. My favourite part of this project is the volumetric lighting. The God rays cutting through a light mist or smoke really helps with creating the atmosphere I was aiming for, and was actually relatively simple to achieve.
With a bit more digging through forums and tutorials, I was also able to find a good method for keystone correction of the projector. Now I have a good setup for legitimately projecting images or movies as if from a projector, and it’s awesome. I’m definitely going to use this again for other projects.


